How to Install Low-Voltage Landscape Lighting
Low-voltage landscape lighting is designed to make a substantial visual change without turning the project into a major electrical undertaking. A typical system consists of fixtures, a transformer, low-voltage cable and weather-appropriate connections. The design work comes first; the installation follows the plan.
1. Plan what you want to illuminate
Before running cable, identify paths, steps, trees, planting, walls and architectural features that matter after dark. Use path lights for guidance, directional or in-ground lights for emphasis, and step or hardscape lights where illumination should feel integrated into the architecture.
Resist the urge to light everything. A little darkness gives the illuminated areas contrast.
2. Choose fixture locations
Place fixtures where they accomplish a clear job and remain visually comfortable from the home's primary viewpoints. For path lights, approximately 8 to 10 feet can be a useful starting point, adjusted for the fixture, path and surrounding light.
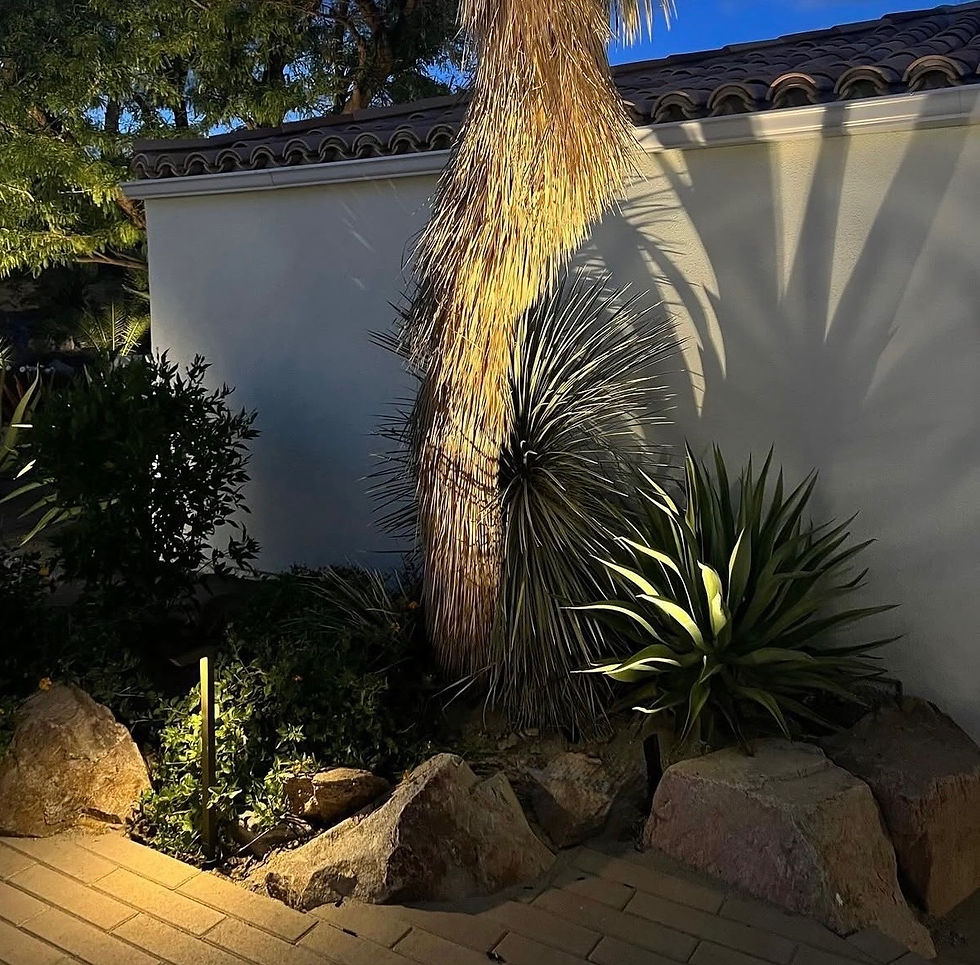
For accent lighting, consider both the feature and the viewing angle. The goal is to reveal texture and form without creating distracting glare.
3. Calculate the transformer size
Add the wattage of all fixtures connected to the transformer. Centurion recommends keeping the total connected load at or below about 80% of transformer capacity as a simple residential planning guideline.
Remember that long cable runs can introduce voltage drop independently of transformer capacity. Run length, wire gauge, load and fixture distribution all matter.
4. Establish the transformer and cable route
The transformer powers the low-voltage system from a standard outdoor outlet. From there, plan the main cable route through the landscape so fixtures can connect cleanly without unnecessary distance.
Follow the instructions for the transformer, cable and connectors being used, along with applicable local requirements.
5. Position and connect the fixtures
Set the fixtures in their intended locations before finalizing the installation. Make the low-voltage connections using the connection method specified for the system and keep the installation neat and serviceable.
If the project includes finished hardscape, unusual mounting conditions or complex wiring, a qualified local professional may be the better choice.
6. Power on and adjust after dark
Do not consider the design finished simply because every fixture turns on. Walk the property after sunset. Adjust aiming, fixture position and visual balance from the places where the landscape is actually experienced.
A directional light moved a few inches or aimed a few degrees differently can change the effect more than adding another fixture.
DIY, handyman, landscaper or lighting professional?
Straightforward low-voltage projects can be approachable for experienced homeowners. Many Centurion customers also use their existing landscaper or handyman, while larger or more complex systems may benefit from a local low-voltage lighting professional.
The right installer is the one who can execute the plan cleanly and safely without overcomplicating the project.


Comments